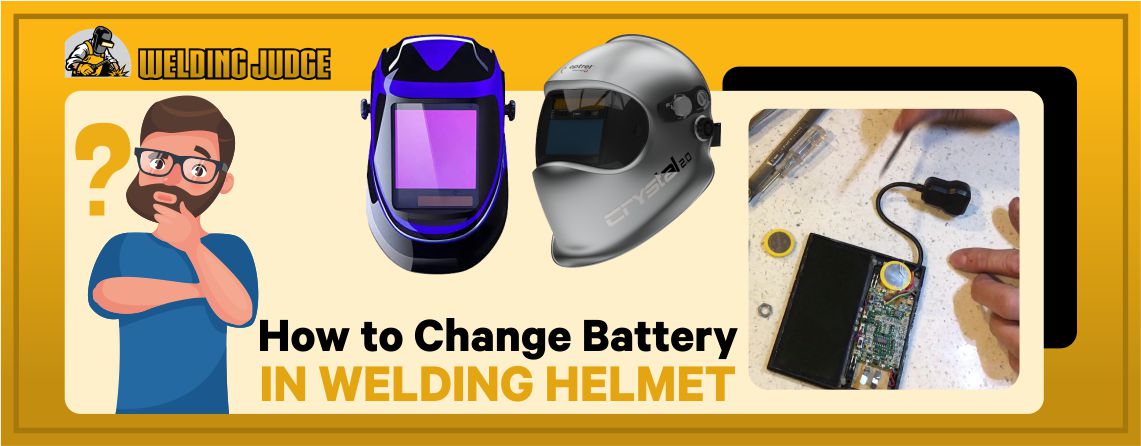
Best Welding Helmet is one of the most important protective gear while conducting a welding operation. Nowadays, most people prefer auto-darkening helmets which change shades according to the procedure. They will turn to dark shade when the welding process begins and they will return to a lighter shade once the welding process stops. This saves you from the effort of pulling the shield up and down during the welding process.
Now if you own an auto-darkening helmet, at some point you will have to replace its batteries with new ones. Now the question arises, how to change the battery in a welding helmet? Well, it’s not as easy as it sounds and you will need some practice. However, we are here to help you get a grasp on this task.
For your better understanding, we have divided this task into a few simple steps. Let’s dive right in!
Table of Contents
How to Change The Battery in Auto-Darkening Welding Helmet:

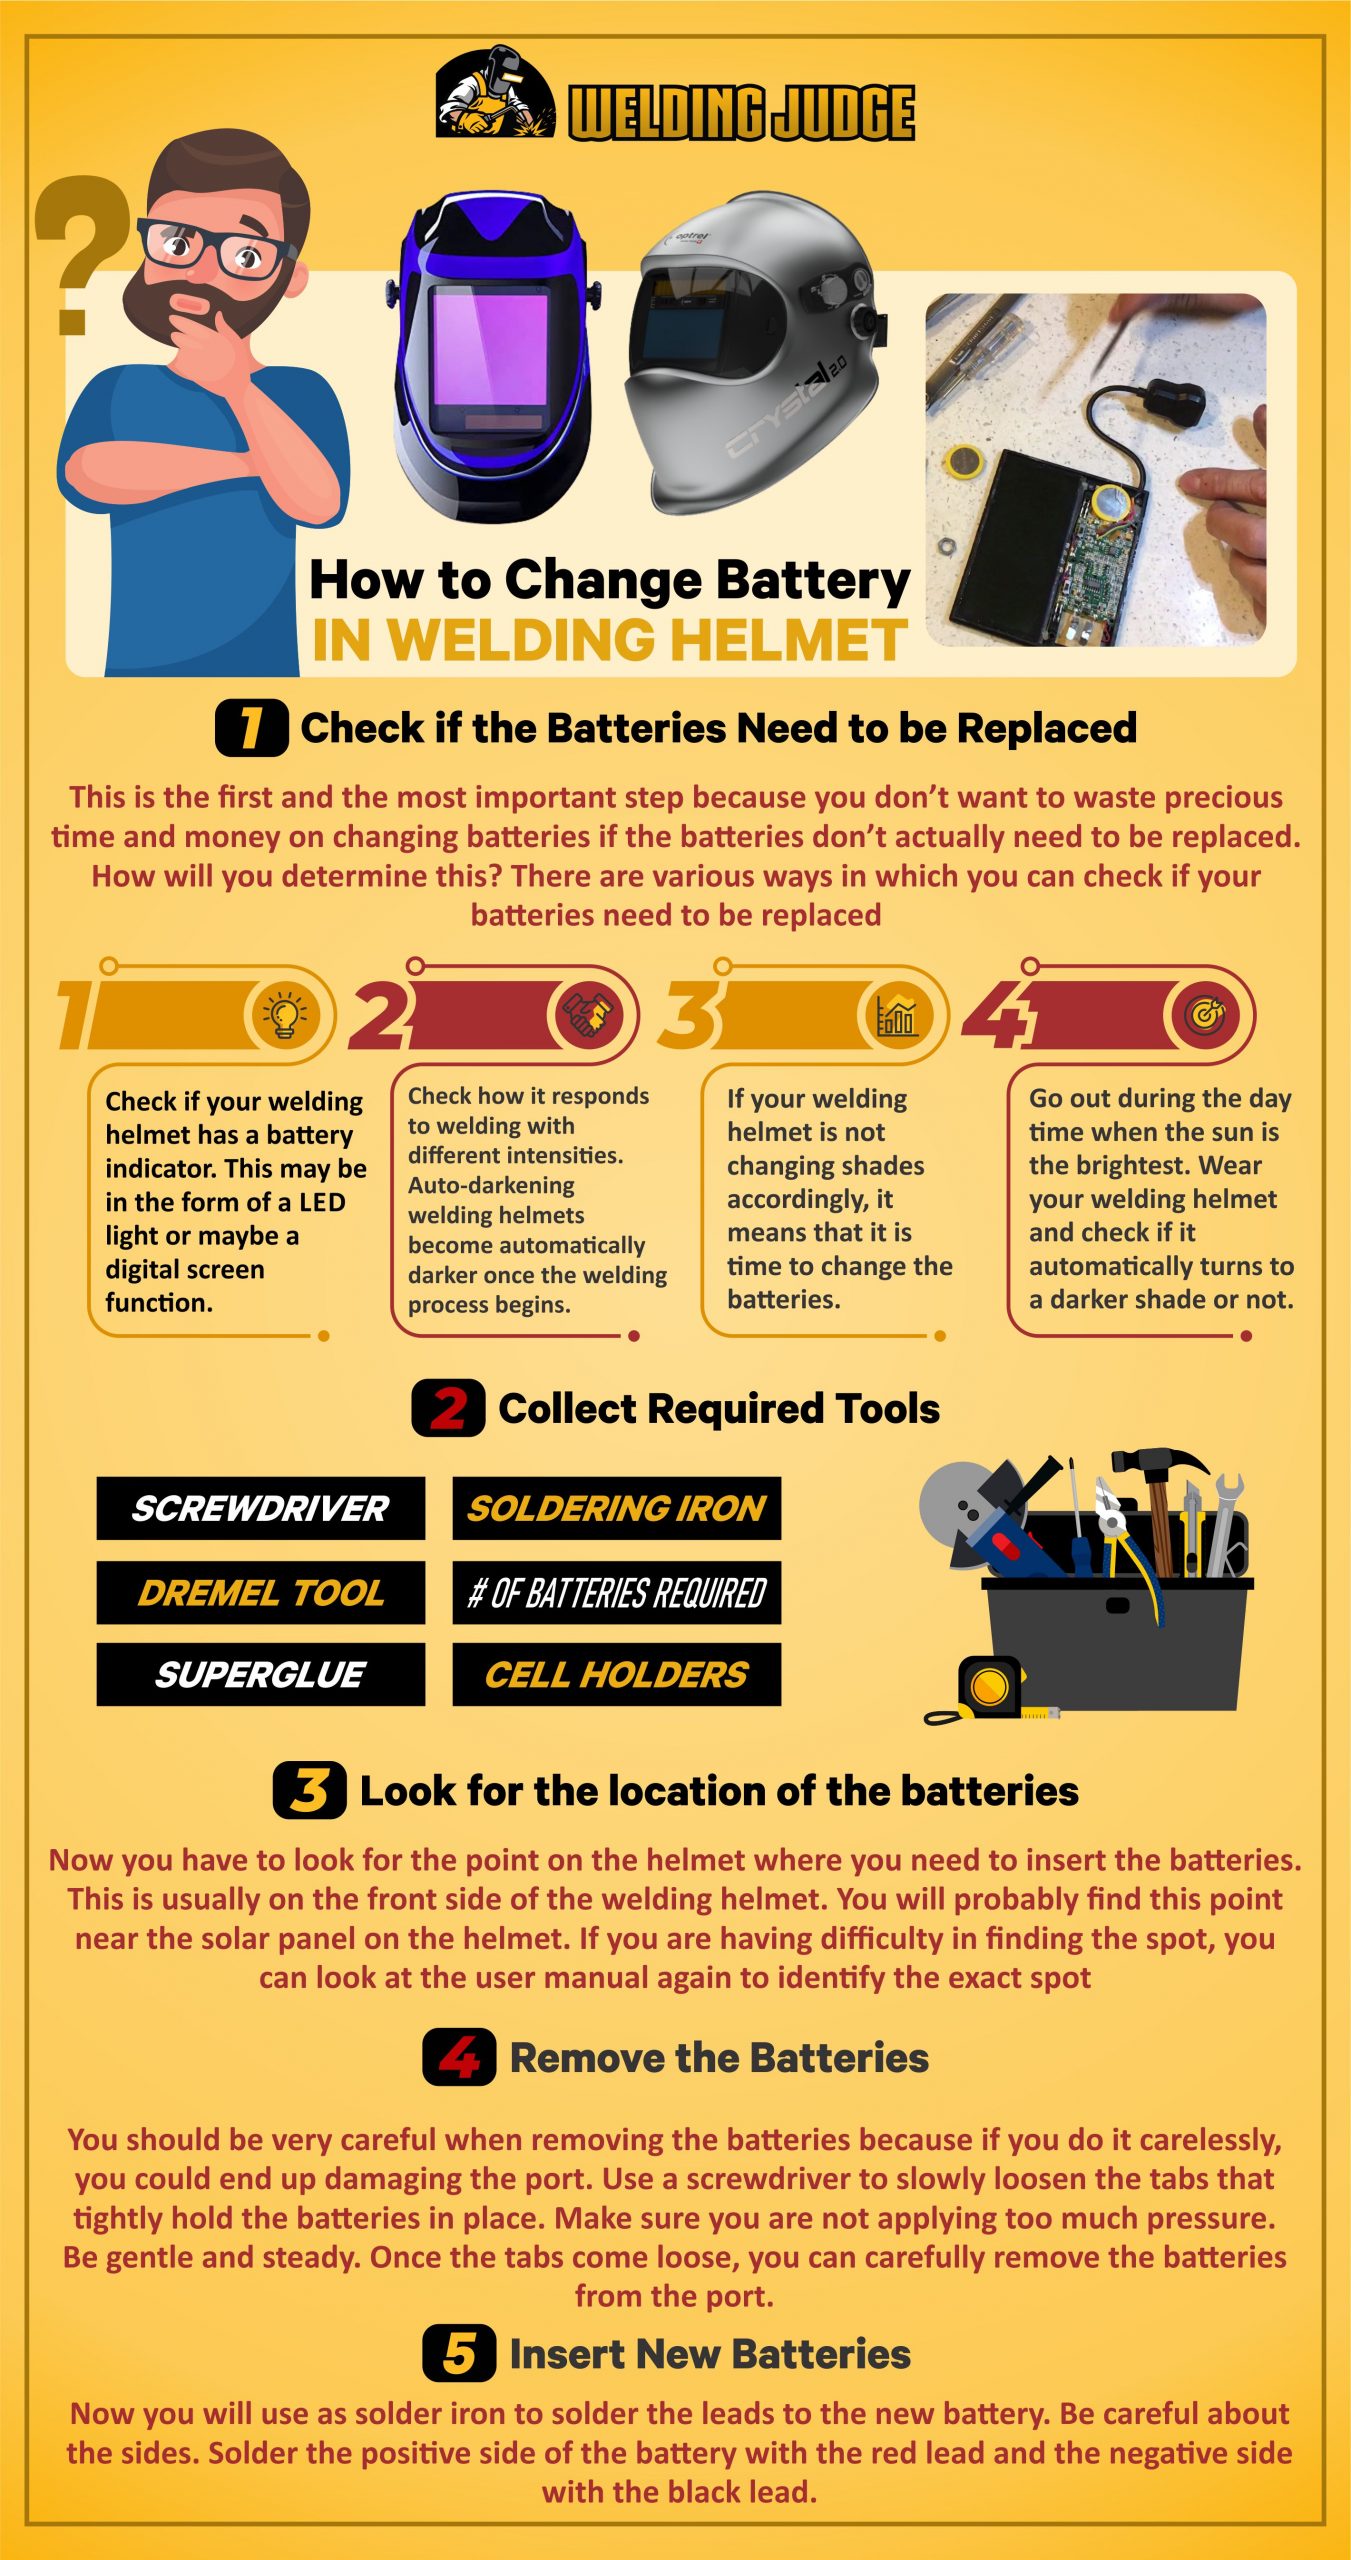
1. Check if the batteries need to be replaced:
This is the first and the most important step because you don’t want to waste precious time and money on changing batteries if the batteries don’t actually need to be replaced. How will you determine this? There are various ways in which you can check if your batteries need to be replaced:
- Check if your welding helmet has a battery indicator. This may be in the form of a LED light or maybe a digital screen function. You will have to check the specifications of your welding to check if it has one. If your welding helmet does have a battery indicator, you can easily check it to determine if you need to change your batteries.
- Check how it responds to welding with different intensities. Auto-darkening welding helmets become automatically darker once the welding process begins. If your welding helmet is not changing shades accordingly, it means that it is time to change the batteries.
- Go out during the day time when the sun is the brightest. Wear your welding helmet and check if it automatically turns to a darker shade or not. Now put your hands in front of your shield to check if it returns to a lighter shade. If your welding helmet is not properly responding to the light intensity changes, its batteries need to be changed.

2. Read the User Manual:
You need to properly go through the user manual that comes with your welding helmet to see if there are some specific instructions regarding changing batteries. Every model and company has a different design so it is important to check if your particular model has some requirements or specifications regarding this task.

3. Collect Required Tools:
Changing batteries requires some specific tools which you should gather beforehand so that you don’t have to run to get something while you are in the middle of the task. Here’s a list of items that you should keep with you before you begin changing batteries:
- Screwdriver
- Soldering iron
- Number of batteries required
- Dremel tool
- Superglue
- Cell holders

4. Look for the location of the batteries:
Now you have to look for the point on the helmet where you need to insert the batteries. This is usually on the front side of the welding helmet. You will probably find this point near the solar panel on the helmet. If you are having difficulty in finding the spot, you can look at the user manual again to identify the exact spot.
Once you find the spot, you will have to put your welding helmet on a table, and then using your Dremel tool you will cut out the plastic portion covering the batteries. This will be nearly the size of a common postage stamp. Be careful not to cut too deep and keep the plastic part that you have removed because you will use it later.
5. Remove the Batteries:
You should be very careful when removing the batteries because if you do it carelessly, you could end up damaging the port. Use a screwdriver to slowly loosen the tabs that tightly hold the batteries in place. Make sure you are not applying too much pressure. Be gentle and steady. Once the tabs come loose, you can carefully remove the batteries from the port.
6. Insert New Batteries:
Now you will use as solder iron to solder the leads to the new battery. Be careful about the sides. Solder the positive side of the battery with the red lead and the negative side with the black lead. Once you have properly inserted all the batteries, you need to use the super glue to glue back the plastic portion you cut out to secure the batteries in place. Make sure that everything is secured in place.
7. Test The Helmet:
Now that you have successfully replaced the batteries, you need to test if the helmet is properly working or not. There are many ways to test the helmet. You could just put on the helmet and go out in the sun again to check if the shades of the helmet change according to the light intensity. You could also run a small welding operation to see if the shades change correctly at the right time.
If this happening then you have successfully changed the batteries. If not then you need to open up the battery port again and check if you have soldered properly and also if the correct sides are soldered to the corresponding leads. There could also be an issue in the wiring that connects the batteries to the auto-darkening system.
Conclusion:
We hope that we have been of help to you. If you properly follow the steps that we have mentioned in the order, you can easily perform this task without asking for help. Be careful and gentle with your welding helmet because you are handling its intricate mechanisms. Best of luck with changing your batteries!

Leave a Reply