In this article, we will discuss How to Weld Aluminum and how it’s done.
Aluminum, a chemical element, is the third most abundant element on earth. It makes up approximately 8% of the earth’s crust. It has various qualities including a low density and outstanding corrosion resistance. Alloying elements are usually added to aluminum in order to produce a variety of mechanical properties.
Aluminum and its alloys are extremely important in industries such as autobody repair, aerospace, and construction, etc. This is mainly because they provide a great strength to weight ratio and that too at a very reasonable cost.
Welding Aluminum has become much easier in the recent past due to the advances in new models of welders that have user-friendly features. If you’re a DIY enthusiast who wants to learn Aluminum welding, you’ve come to the right place! Let’s begin.
Table of Contents
How to Weld Aluminum and How it Works:
Why is Aluminum welded so often?
There are various reasons why Aluminum is so popular in the welding industry. Here are a few:
- It is a lightweight material so it does not add a lot of weight to objects.
- At the same time, it is also very strong and resilient, making it a great choice for the aerospace industry.
- It is available at an affordable price which helps cut down on manufacturing cost.
- It is a great conductor of both electricity and heat which makes it super useful for many applications.
- It can easily be alloyed with different metals in order to make them more durable and stronger.
Difficulties in Welding Aluminum:
Aluminum has some amazing benefits for welding but it also some downsides which make welding it a little difficult. Here are a few:
- High thermal conductivity leads to excessive heat dissipation into the atmosphere which is basically heat loss. This leads to unnecessary distortion of parts in addition to an increase in the required heat input.
- Hydrogen solubility is very high in molten aluminum. This causes the weld pool to absorb hydrogen during the welding process.
- Aluminum always develops an oxide layer which tends to have a boiling point which is much higher than that of the actual aluminum alloy. This oxide layer sometimes gets added into the welding region which leads to reduced weld strength as well as a lack of fusion defects.
Aluminum Welding Process:
Now that you have a brief introduction to aluminum welding, let’s get to the main part: How to weld it? For your convenience, we have divided the steps into sections so that they are easier to follow. Let’s begin!
1. Collect Required Materials:
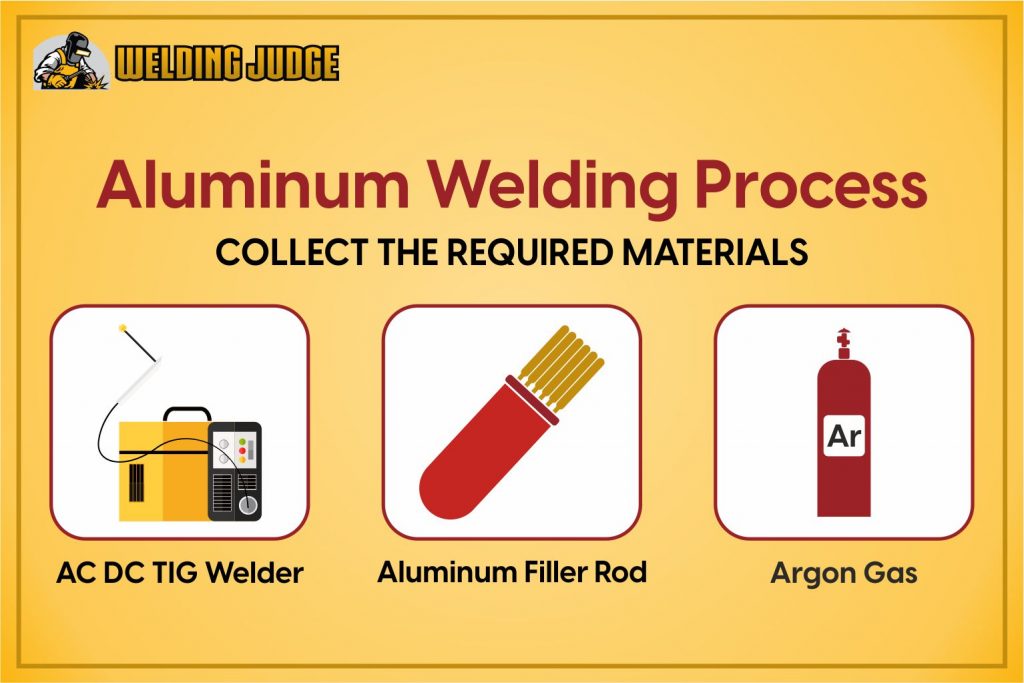
Before starting welding, you need to make sure you have all the materials required in the process. Here’s a checklist to help you make sure you have everything:
- AC DC TIG welder. AC capability is important for welding Aluminum. A Tungsten Inert Gas welder, also known as a TIG welder is basically a machine that utilizes tungsten electrodes in addition to an inert gas for shielding the welding. Make sure you pick a welder that has high precision because precision is extremely important while welding Aluminum. If you don’t intend on using the TIG welder a lot, you can also look into renting options.
- Aluminum filler rod. This is required in order to form a bond between the two metal pieces. Make sure that the filler rod you pick is not dirty or rusty because that could result in weaker welds. It is important to choose a filer rod which is as long as the tungsten electrode you’re using.
- Argon gas. You have to get a tank of argon gas which will be used to shield the welding. Using pure argon will prove to be more cost-effective. You can also add 3% helium for increased arc stability. Make sure you’re buying the gas tank from an authorized dealer.
2. Safety precautions:
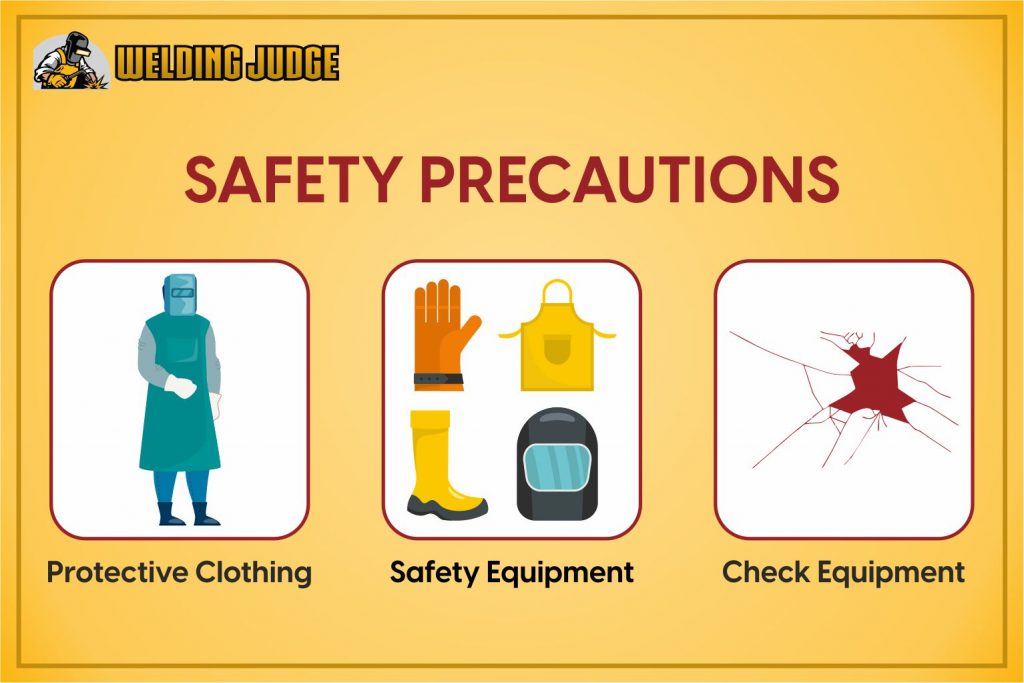
During welding, you will be dealing with huge amounts of power and heat so it is extremely important that you take all safety precautions in order to prevent any mishaps or accidents. Make sure you take care of the following:
- Protective clothing. Your shirt should be made out of a thick fabric preferably cotton and should have long sleeves in order to protect most of your body. Protecting your arms is important because a lot of UV radiations are produced during TIG welding which could cause chemical burns if you don’t cover-up. Your pants should not have cuffs so that they don’t end up catching molten metal.
- Safety equipment. Wear a heavy welding helmet that completely covers your head, face, and neck. An auto-darkening helmet will be more convenient because you won’t have to keep putting the shield up and down again and again. Wear a thick pair of fire-resistant and insulated gloves to protect your hands. A respirator will help you breathe better and prevent you from inhaling any toxic fumes. Keep a fire extinguisher nearby in case a fire erupts.
- Check equipment. Using broken, damaged, or not properly set-up equipment can lead to accidents. Doing a safety check will ensure that the welding process goes smoothly. Double-check connections and hoses. Make sure you change any corroded or cracked parts. Replace rusty or dented tanks. Make sure no wires are hanging around and fix those which are nicked or frayed.
3. Workspace set-up:
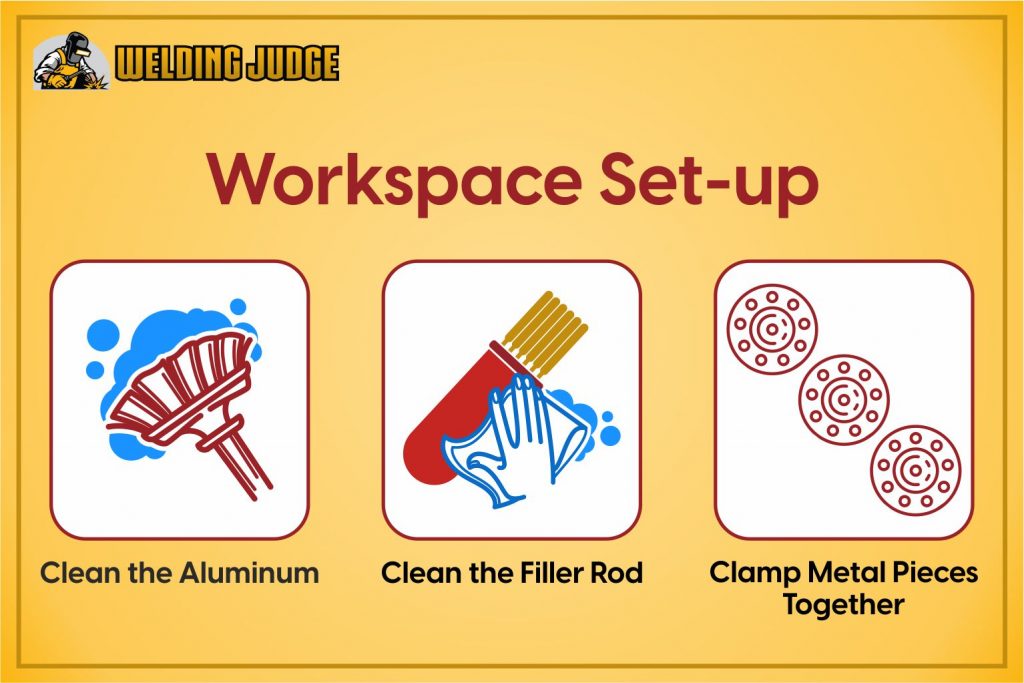
Let’s discuss the steps you need to take in order to set up the equipment:
- Clean the aluminum. Aluminum tends to develop a thin layer of oxide on top which melts at a much higher temperature than normal aluminum. This leads to a loss of heat and power so before welding aluminum it is important to clean away this layer. You can use wire brushes for doing this but make sure that the brush is either brand new or has only been used with aluminum. This is because if it has been used with other metals, it may still have traces of those metals which can lower the weld quality.
You can also spray the aluminum joints with an electric cleanser. After this, rinse the aluminum piece you’re working on with water and then dry it properly. Now scrub it with wool scrubber for e.g. the scotch Brite scrubbing pad in order to complete the cleaning process. - Clean the filler rod. This is because a dirty filler rod may contaminate the aluminum weld and weaken its strength. You can do this by putting some acetone on the rod and scrubbing it with an abrasive cleaning pad.
- Clamp metal pieces together. If the pieces are not fitted together properly, gaps may form in the weld which will seriously affect the quality of the weld. Fit the pieces together tightly and then clamp them. Suspending the workpieces above the table is also a great option as it will help in increasing heat transfer and ensuring better penetration. Clamping the joint to copper, a heat sink will ensure better heat transfer without causing any damage to your work or workspace.
- Preheat the workpiece. It is easier to weld aluminum when it’s hotter than room temperature. You can heat it by either routing it in an oven or by applying heat on its surface by using a propane torch. Make sure you rise its temperature to around 400 degrees Fahrenheit. Welding aluminum without preheating can cause shallow and weak bonds.
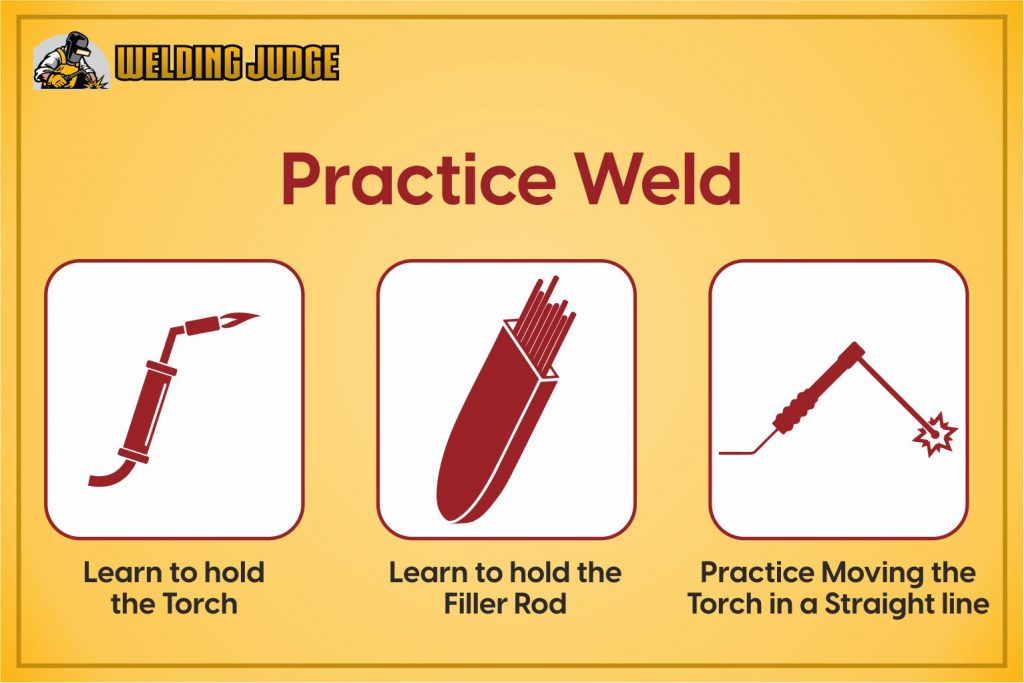
4. Practice weld:
You need to practice doing a weld before you start working on the actual workpiece because you don’t want to mess it up. Here’s how you can do that:
- Learn to hold the torch. Take an unlit torch and hold it near the metal. Keep the tip of the torch about quarter inches above the aluminum surface. Tilt the torch back about 10 degrees. Holding the weld too close might cause sticking and holding it too far will lead to spreading out arc which is hard to control.
- Learn to hold the filler rod. Using your other hand hold the filler rod perpendicular to the tip of the torch. Remember that you have to push the torch and not drag it. The filler and the torch’s tip should never touch because this will cause contamination which affects the structural integrity of the weld.
- Practice moving the torch in a straight line. Make sure you are wearing gloves so you have an idea of the effort required. Move the torch along the part you will be welding. Move your whole hand not just your fingers.
5. Welding Aluminum:
Now you are fully ready to work on your metal workpiece. Follow these steps to ensure a good weld:
- Set the elder’s amperage as per your requirement. Use 1A per 0.001 inches of the workpiece. Set the amperage a little higher than your expectation. You can tone it down using the foot pedal when you start welding.
- The tungsten electrode should be extended out of the nozzle y no more than the torch’s nozzle’s diameter. Generally, this is about a ¼ inches.
- To start welding, press the button on the torch to create the arc.
- If there is no button, push down about halfway on the foot pedal in order to create the arc. If you’re having trouble creating the arc, its likely that your amperage is too low. Adjust it and try again.
- Create a puddle. Melt the workpiece to create a puddle which is almost double the diameter of the filler. Add adequate filler to help fill the joint. Continue for the entire joint. Keep using your foot pedal to lower the amperage as the welding progresses because the temperature of the workpiece will rise. Make sure that the puddle is the right size or else your weld may be affected.
- Add some extra filler when you start welding. This will help prevent cracking and make the weld stronger. Weld for quarter inches and then stop to let the joint cool down. Restart once the weld has cooled down for a minute.
- Keep pushing the puddle at a consistent speed and keep adding filler.
- When you’re down release the foot pedal and then the button on the torch. Do this slowly. Let the joint cool down before you touch it.
Conclusion:
TIG welding is not a very difficult process if you go step by step. The more you practice, the better your weld will be. We hope our guide helped you master the art of welding aluminum. Best of luck!
Frequently Asked Questions:
1. Do you use AC or DC to weld aluminum?
AC is used to weld aluminum.
2. What’s the hardest metal to weld?
Aluminum, nickel, and titanium.
3. At what temp does aluminum melt?
660 degrees celsius
[acf field=”s1″]
Leave a Reply